Implementation
Step 1: Add ShopBack Pay as a payment option on your checkout
The following screenshot provides a best-practice example how the ShopBack Pay checkout could be designed. We suggest highlighting to customers that ShopBack Pay can be used with any debit / credit card.

Main payment title: ShopBack: Get Cashback with every payment
Secondary payment title: Scratch and win Cashback when you pay with ShopBack
Payment description:
| Country | Payment description |
|---|---|
| Singapore | What is ShopBack Pay? |
| Malaysia | What is ShopBack Pay? |
Step 2: Add ShopBack Pay to your payment process

-
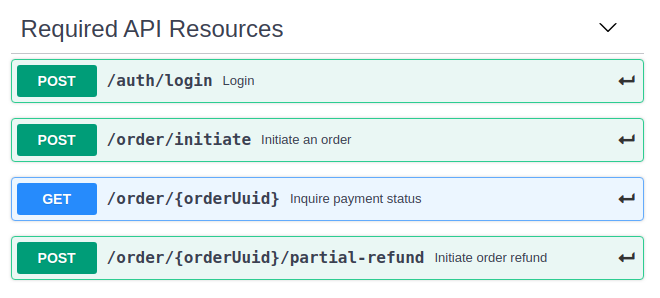
Create an auth token using the /auth/login API endpoint
-
Initiate an order an order using our sample payload to /order/initiate API endpoint
-
Implement the consumer redirect to the ShopBack Pay checkout flow (to complete the payment)
-
Implement the Server to server payment notification (payment notification webhook) to receive notification regarding the status of a payment
-
Check the payment status using /order/{orderUuid} API endpoint when we redirect the consumer back to your landing page after 30 seconds
-
Display the outcome based on the payment status
-
Payment completed: Display your order confirmation
-
Payment not completed: Display a payment failure error message and present your cart / checkout
Important noteDo not – under any circumstances – integrate API calls directly from your frontend (e.g. via AJAX calls). This will create a serious vulnerability on your website.
Step 3: Implement API resources for day-to-day operations, e.g. refunds
Once the order process works end-to-end, it is a good time to connect to additional API resources that will be needed in day-to-day operations:
- Required: Initiate partial order refund
- Optional: Update your order ID
Updated 7 months ago